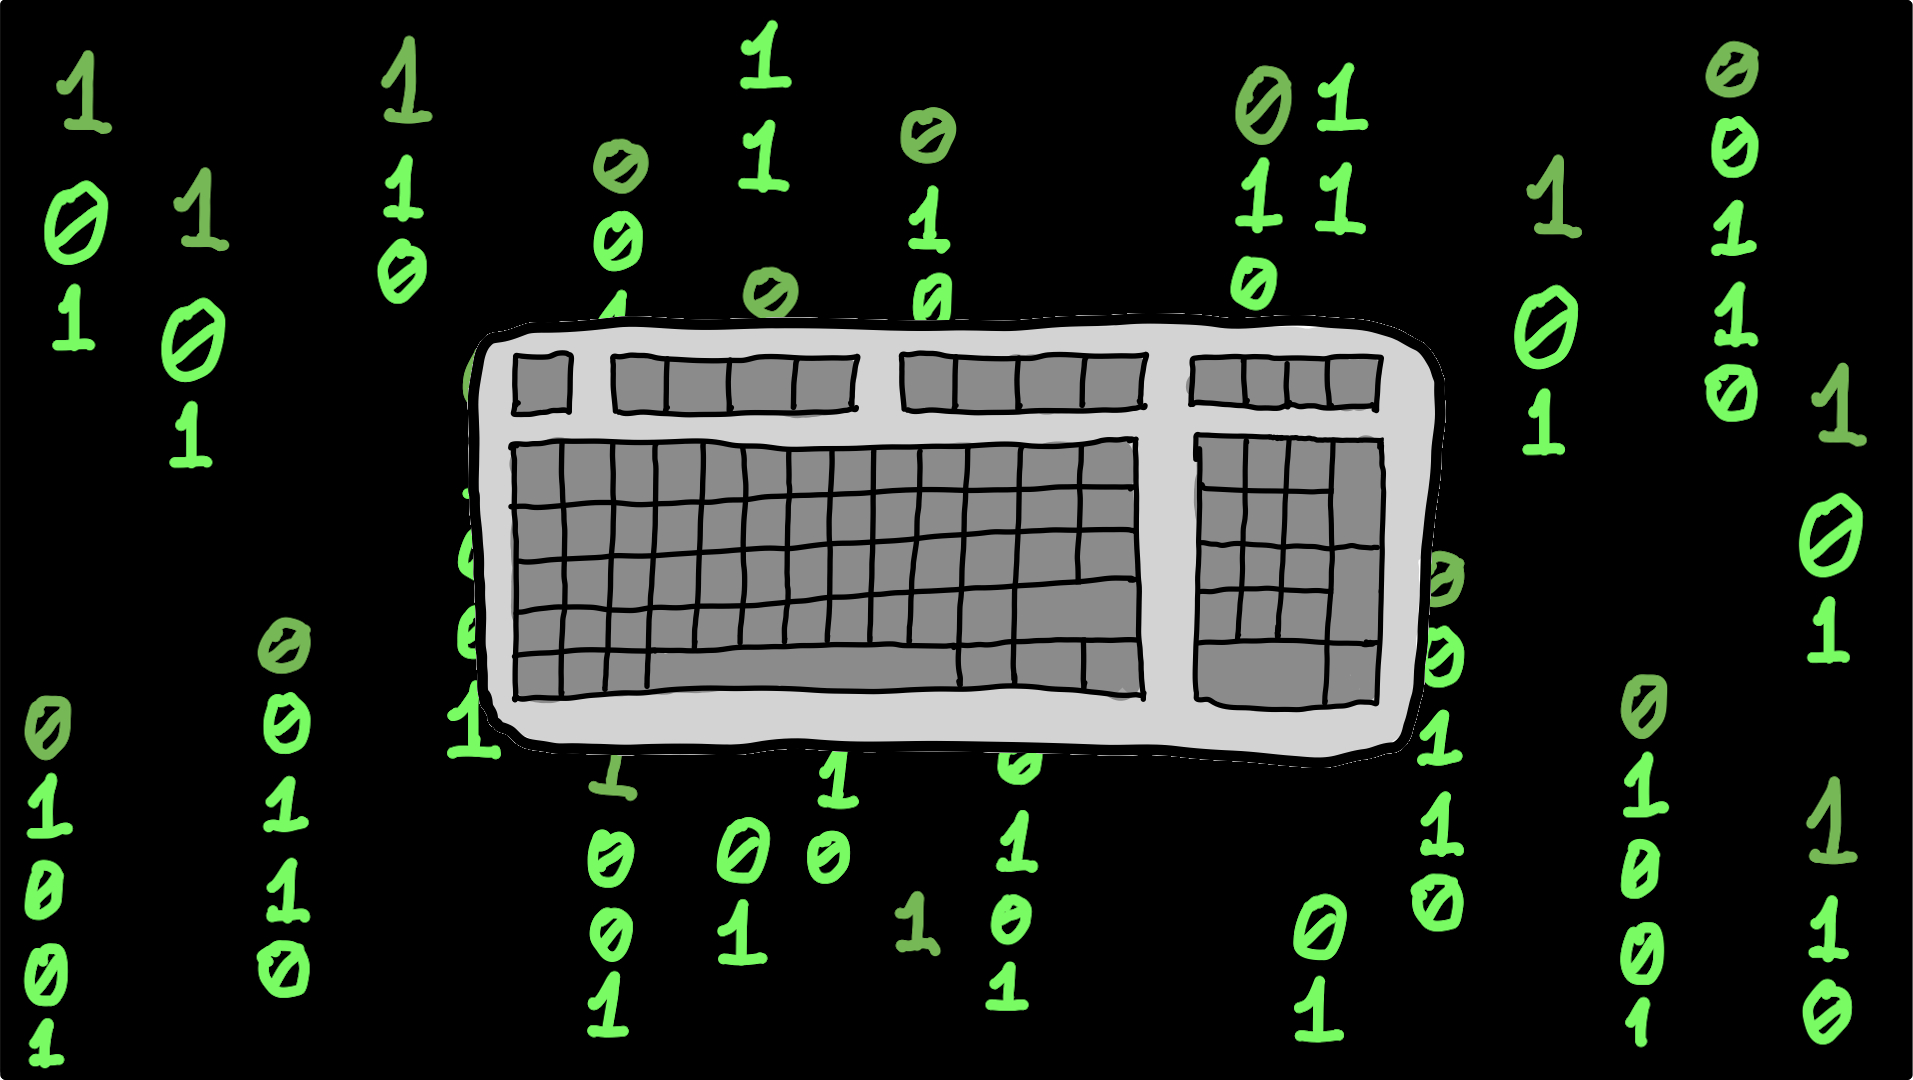
Makerlog #6 - The Keyboard Matrix

This is your last chance. After this, there is no turning back. You take the blue pill—the story ends, you wake up in your bed and believe that keyboards are magical devices. You take the red pill—you stay in Wonderland, and I show you how deep the rabbit hole goes.
This week I started with the first part of retrofitting the power glove. I wanted to start with the keyboard. This led to a small deep dive into how keyboards work. Let’s share some findings.
A keyboard is just a collection of keys. A key is normally connected to 2 wires. One of those is connected to a power source and when the key is pressed, the power can flow through the second wire to whatever pin that is listening on the other end. If that pin receives power, it knows that the key has been pressed and we can register that button press.
If every key would need 2 wires, a standard 101 key keyboard would need 202 wires and its controller would at least need 102 pins. It would be hard to cram this all into a small form factor. Luckily there is a circuit called a keyboard matrix.
In a keyboard matrix, you divide your keyboard into rows and columns. First, you send power through all of the rows and you listen to the columns pins. When a key is pressed the corresponding column pin will receive the signal and we’ll already know which column was pressed. Next up you switch the roles around. Now you send power through all your columns and start listening to the rows. Now the corresponding row will receive a signal and you’ll know exactly which key in the matrix was pressed down. In a normal keyboard, this all happens at incredible speeds that allow the keyboard to register multiple keystrokes at the same time. This is a very simplified overview but it will allow us to continue to the Power Glove.
The Power Glove’s keypad is also a keyboard matrix. Since I don’t want to damage the glove too much I started creating a “dev kit” version of it on a breadboard. I loaded up some keypad library provided by Arduino but I got very weird readings on it. After reading countless blog posts and diving into the internal code. I think I found the issue. The Arduino keypad library was written for AVR chips and the Arduino RP Connect I am using is ARM-based. I haven’t pinpointed exactly and have already written a part of the controller code myself, but it’s not so reliable and feature-rich. I might revisit the library later and make the necessary changes to support ARM processors. That’s it for this week.